Here’s how to pick the perfect one:
-
Match the Space: Ensure the booth fits your venue. You’ll need at least 6’x9’x10’, but 10’x10’x10’ is ideal.
-
Know Your Guests: Seniors prefer simplicity, while younger crowds love tech features. Accessibility is key for everyone.
-
Event Type Matters: Weddings? Go for open-air booths. Corporate events? Enclosed booths work best.
-
Budget Smartly: Costs range from $400 to $2,500 for 4 hours, depending on booth type and add-ons like props or custom backdrops.
-
Plan Power & Setup: A 110V outlet, proper lighting, and a high-traffic spot are must-haves.
Quick Tip: Open-air booths are great for group photos, while mirror booths add a stylish, interactive touch.
| Booth Type | Best For | Cost (4 Hours) | Key Feature |
| Open-Air | Weddings, birthdays | $400–$1,000 | Perfect for group photos |
| Enclosed | Corporate events | $450–$1,200 | Professional, private setup |
| Mirror | Upscale events | $800–$1,200 | Interactive touchscreen |
| 360-Degree | High-end parties | $1,000–$2,500 | Dynamic, all-around footage |
Choose a setup that fits your event’s vibe, keeps guests entertained, and creates lasting memories.
The different types of Photo Booths
Venue Requirements
When selecting a photo booth, make sure it aligns with your venue’s size and power capabilities. Here’s what you need to know to ensure everything runs smoothly.
Space and Layout
The size of the photo booth setup is a key factor. Typically, you’ll need a minimum area of 6 feet long, 9 feet wide, and 10 feet high. However, a 10′ x 10′ x 10′ space is ideal for better guest flow and proper equipment placement.
Here are some important spatial details to consider:
-
Backdrop height: Most backdrops are 7.5 feet tall, so you’ll need at least 8 feet of ceiling clearance.
-
Camera positioning: Leave at least 6 feet between the camera and the backdrop for proper framing.
-
Props and printing: Set aside a 6-foot table for props and printing materials.
-
Guest lines: Make sure there’s enough room for guests to queue up without interfering with the rest of the event.
Once you’ve planned the space, it’s time to check the venue’s power and accessibility.
Power and Access
The technical setup is just as important as the space. Here’s what you’ll need:
Power Needs:
-
A 110V, 10-amp outlet with a 3-prong connection
-
A dedicated circuit to avoid overloading
-
Extension cords if the outlet is far from the booth
Accessibility Tips:
-
Ensure routes to the booth are wheelchair accessible.
-
Avoid placing the setup in direct sunlight, as it can affect photo quality.
-
Choose a high-traffic area for better visibility and guest engagement.
For outdoor events, protect the booth from weather conditions like rain, wind, and harsh sunlight to keep the equipment safe and ensure guests are comfortable.
Event Type and Guest Analysis
When choosing a photo booth, it’s not just about space and power. The type of event and the people attending play a big role in selecting the right setup. Different events call for different booth styles to keep guests engaged and entertained.
Event-Specific Booth Options
The nature of your event dictates the best photo booth to use:
Wedding Celebrations Open-air booths are perfect for group photos and capturing candid moments. Hashtag printing booths can also be a hit, letting guests print their social media photos during the event.
Corporate Functions Classic enclosed booths are a great fit for professional settings like trade shows or conferences. They offer:
-
Privacy for taking headshots
-
Consistent lighting for high-quality photos
-
Professional backdrops
-
A quiet, structured setup
Social Gatherings Retro booths bring a nostalgic vibe, making them a fun conversation starter.
Guest Profile Impact
Knowing your audience helps you pick a booth that suits their preferences and needs:
Age Group Considerations Different age groups interact with technology in unique ways:
-
Seniors appreciate simple and straightforward interfaces
-
Young adults enjoy advanced features and tech-savvy options
-
Kids need controls that are easy to use and height-adjustable
Accessibility Requirements To make the experience enjoyable for everyone, consider:
-
Wheelchair-accessible setups with clear instructions
-
Proper lighting for visibility
-
Adjustable equipment to accommodate different heights
Matching the booth’s features to your guests’ needs creates a smooth and enjoyable experience.
| Event Type | Booth Style | Key Features |
| Weddings | Open-air/360° | Social sharing |
| Corporate | Classic enclosed | Professional setup |
| Birthday | Retro/open-air | Interactive elements |
| Trade Show | Classic enclosed | Efficient and polished |
| Anniversary | Open-air/retro | Customizable options |
Photo Booth Types and Uses
Different types of photo booths come with unique features designed to fit various event settings. Choosing the right one can take your event to the next level.
Booth Types Guide
Open-Air Booths These setups feature a simple backdrop along with a built-in camera and lighting. Perfect for large group photos, they encourage interaction and are great for spacious venues.
Classic Enclosed Booths Enclosed booths create a private space with controlled lighting, making them ideal for formal events or occasions where guests may prefer a more personal photo experience.
360-Degree Platforms Using multiple cameras, these platforms capture dynamic, all-around footage. They’re a great choice for upscale events looking to add a touch of drama and excitement.
Magic Mirror Booths These booths combine an interactive touchscreen with a sleek, modern design. They’re a hit at weddings, hotel lobbies, and high-end receptions thanks to their stylish and engaging features.
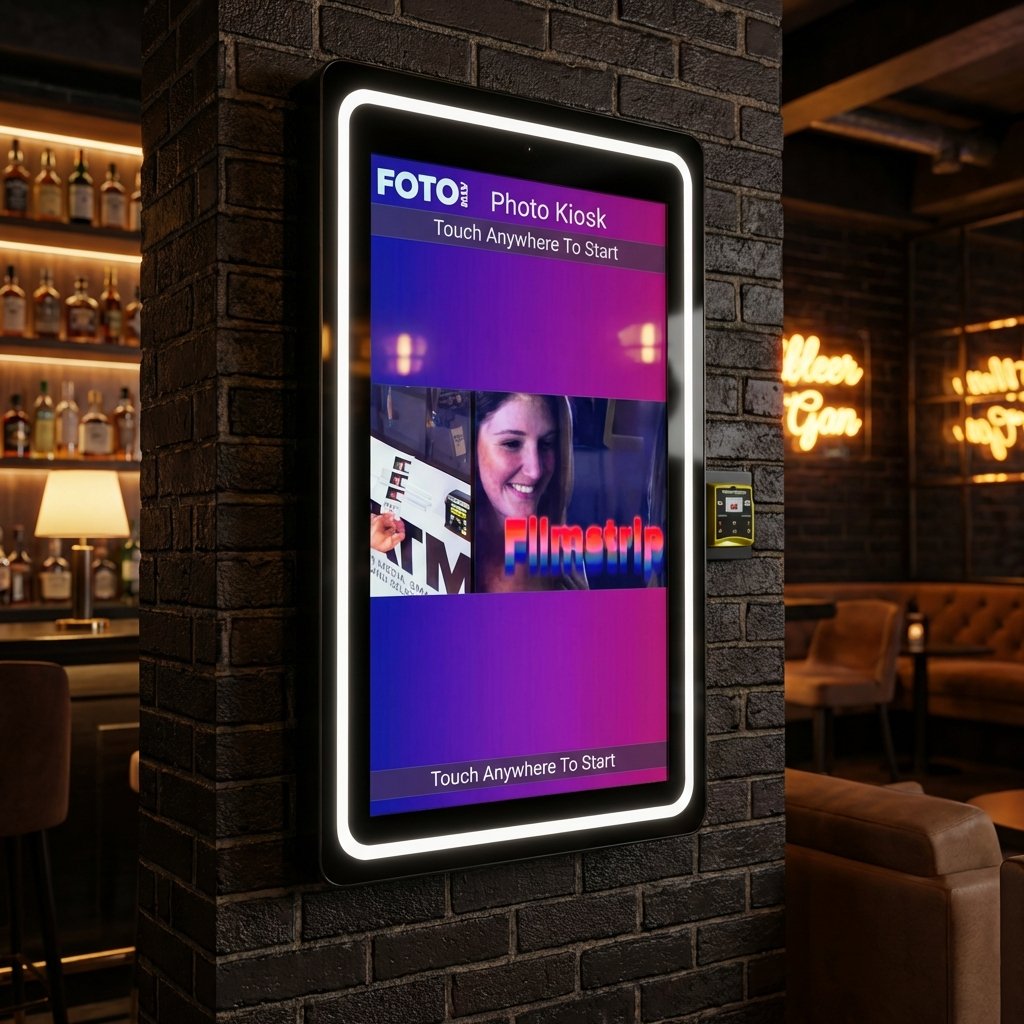
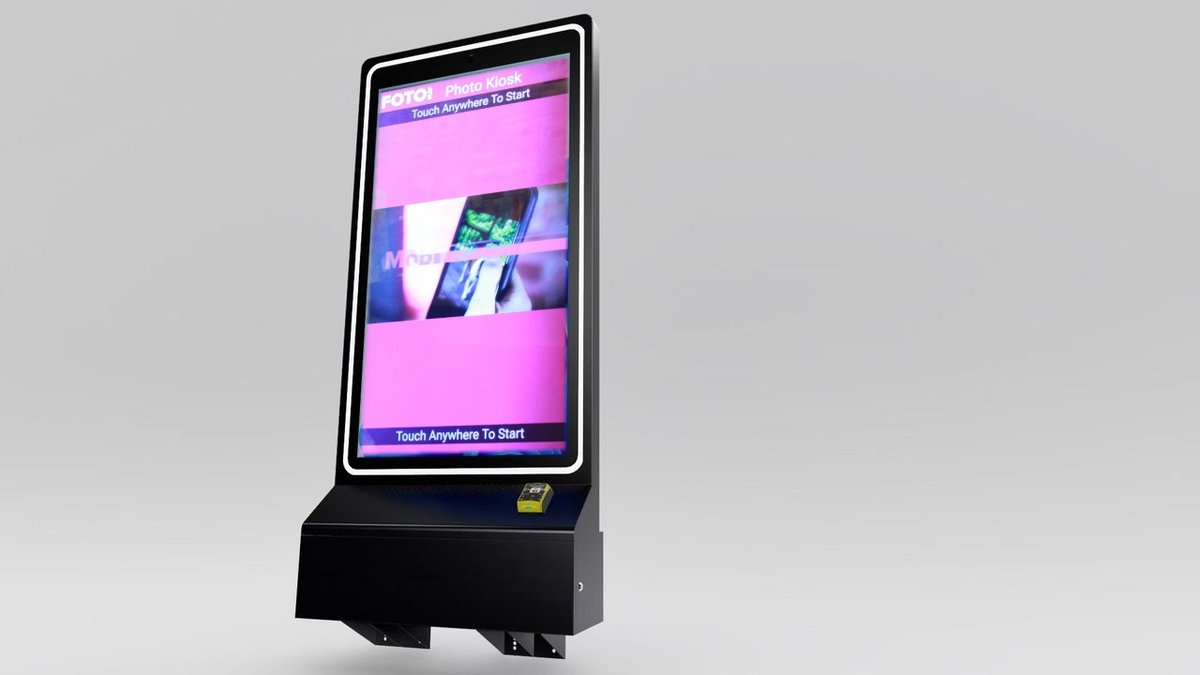
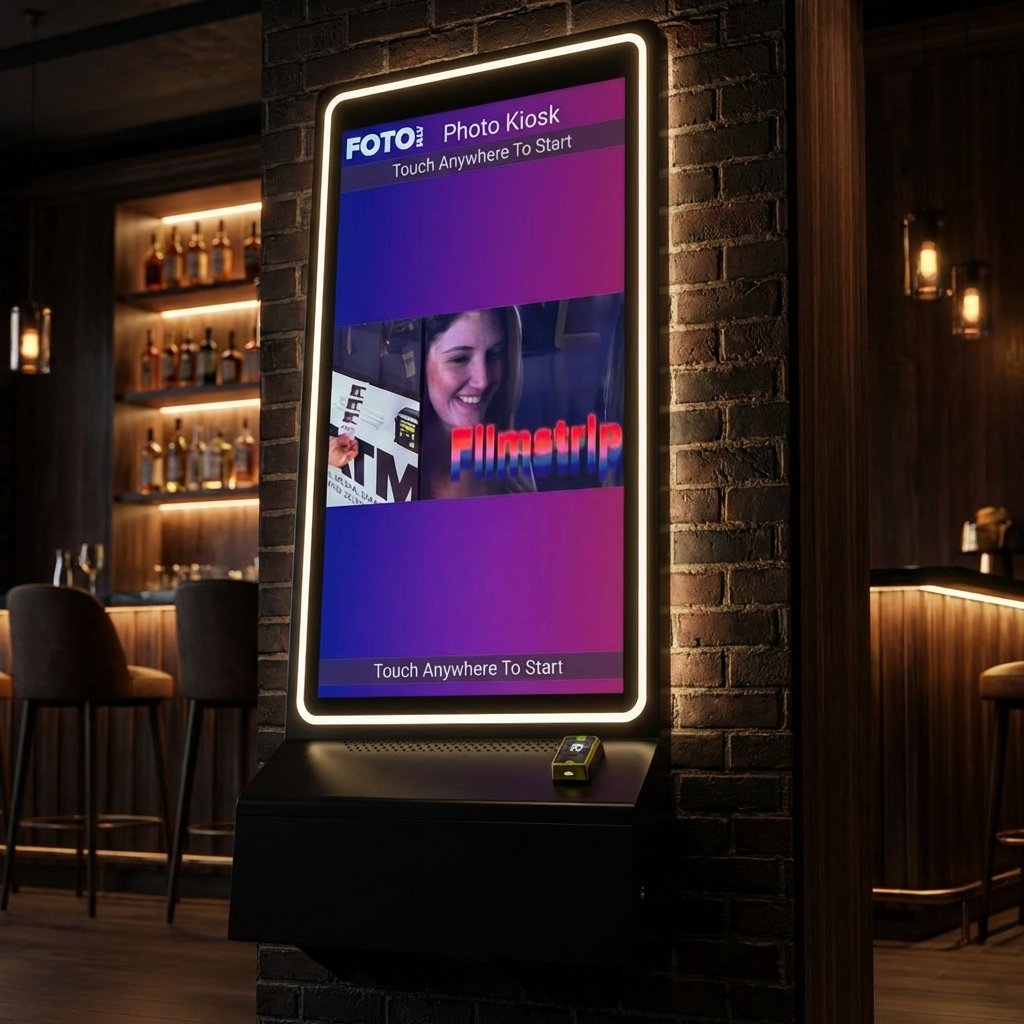
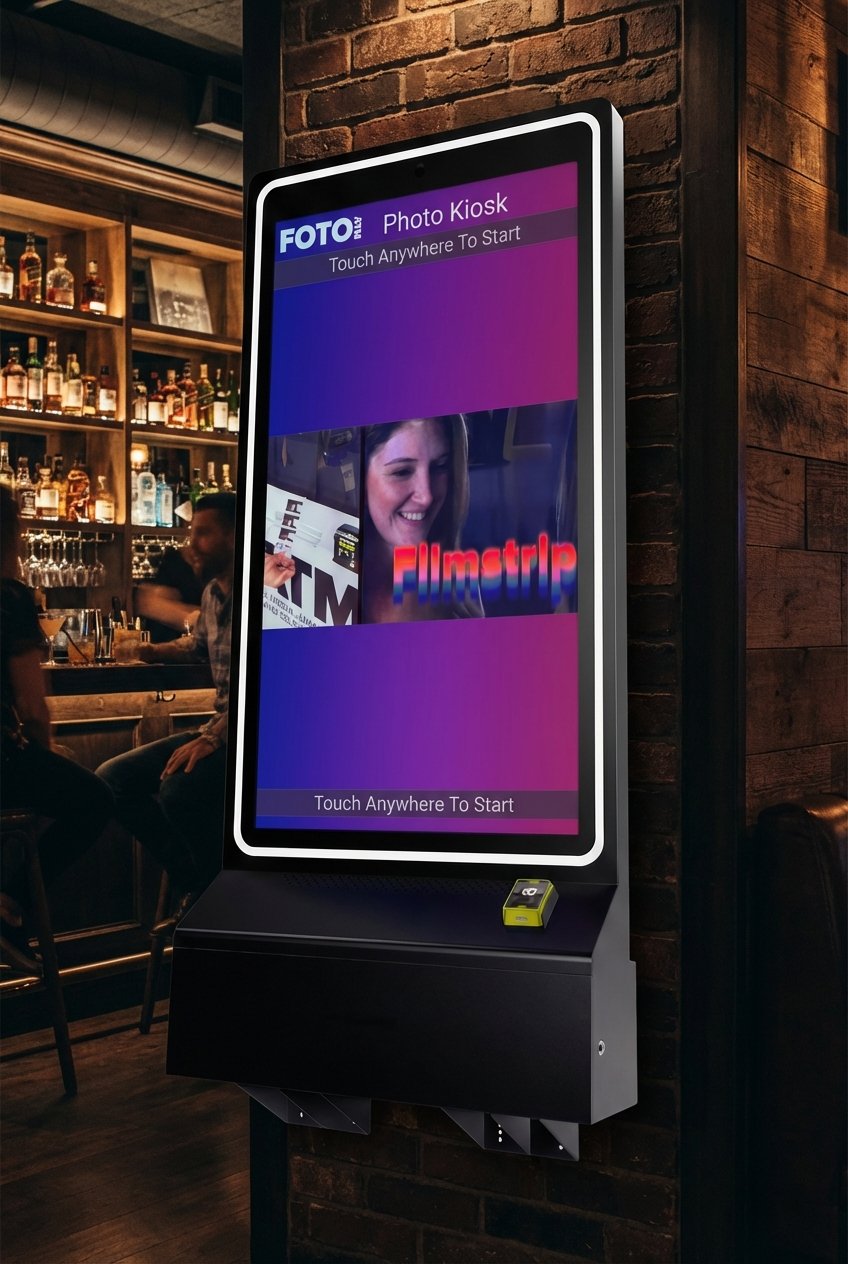
Unattended Kiosks Self-service photo stations operate continuously without needing staff. They’re commonly used in retail spaces, bars, and entertainment venues, offering features like automated payments, social media sharing, and remote management.
Check out the feature and cost analysis next to help you decide which option works best for your needs.
sbb-itb-3201140
Features and Cost Analysis
Key Functions
Modern photo booths come loaded with features designed to keep guests entertained and streamline operations. For example, AI-powered green screen technology can replace backgrounds automatically, which works well for venues with limited space. Social sharing options allow guests to post their photos instantly with custom hashtags, increasing event visibility.
Payment flexibility is another perk, thanks to EMV readers and bill acceptors. Plus, cloud-based software lets you adjust pricing remotely, whether for special promotions or fluctuating demand.
Cloud Tools and Data
Cloud-based tools make managing photo booths easier and more efficient. These tools include:
-
Real-time analytics to monitor usage
-
Options to customize logos and branding remotely
-
The ability to adjust pricing on the fly
-
Control over advertising carousels
-
Monitoring multiple locations from a single dashboard
With these features at your fingertips, it’s easier to optimize operations and maximize booth performance. But understanding the costs involved is just as important.
Cost Breakdown
Here’s a breakdown of typical costs:
| Booth Type | Standard Rate (4 hours) | Additional Features Cost |
| Open-Air | $400 – $1,000 | Props: $40 – $100 |
| Enclosed | $450 – $1,200 | Custom Backdrop: $100 – $400 |
| Mirror | $800 – $1,200 | Social Media Integration: $50 – $250 |
| 360-Degree | $1,000 – $2,500 | Green Screen: $50 – $350 |
Other potential costs include:
-
Extended hours: $100–$200 per extra hour
-
Custom photo strip branding: $30–$50
-
Guest album services: $50–$150
-
Travel fees for distant locations
To save money, consider booking during off-peak seasons or opting for longer rental periods. Many vendors offer discounts for multi-day rentals or weekday events.
Setup and Operation Guide
Installation Steps
Place your booth in a busy area near a dependable power outlet.
-
Connect equipment: Plug in all peripherals before turning on the main system.
-
Adjust camera settings: Switch the camera to manual (M) mode. Use autofocus to set the lens distance, then change to manual focus (MF).
-
Arrange lighting: Position ring lights or soft-box lights to minimize harsh shadows.
-
Set up the network: Connect to Wi-Fi or create a hotspot for social sharing.
-
Run a test: Perform a full system check to ensure printing and social sharing features are working.
Once the setup is complete, customize the interface to keep guests engaged.
Guest Usage Tips
Make the experience enjoyable with easy-to-use features. The touchscreen should have clear instructions, while social sharing options let guests instantly text or email their photos, increasing the event’s reach.
Here are a couple of ideas to enhance the experience:
-
Add a video attract mode and use branded overlays that match the event’s theme.
-
Pre-set social media hashtags for seamless sharing.
If something goes wrong, use the troubleshooting tips below.
Problem-Solving Guide
Here’s how to handle common problems:
| Issue | Quick Fix | Prevention Tip |
| Dark Photos | Turn on the external flash box in settings | Test the lighting setup before starting |
| Printer Issues | Check USB connections and paper alignment | Keep extra supplies on hand |
| Green Screen Problems | Ensure image size is 1200 x 1800 pixels | Pre-load and test backgrounds |
| Focus Problems | Reset autofocus using a test subject | Mark the best subject distance on the floor |
“With any software, its effectiveness is limited by your ability to use it well.” – Michael Gartner, Founder & Lead Developer, Photo Booth Solutions
For more complicated problems, use remote support through your cloud-based management dashboard. Having a trained team member on-site can also make troubleshooting faster and ensure everything runs smoothly during the event.
Conclusion
Here’s a quick summary to help you make the right choice: a photo booth’s success hinges on matching its size, design, and features to your event’s space, style, and audience.
Think about the booth’s footprint, how easy it is for guests to access, and its branding potential to make the most impact. This approach helps boost guest interaction while creating unforgettable moments. As Bethany Scherbarth from Hive on Hubbard puts it:
“The branding it offers makes each picture a wedding favor that your guests won’t throw away!”
To get the best results from your photo booth, focus on these three key factors:
-
Making sure it fits the space and keeps traffic flowing smoothly
-
Ensuring the interface works well for all ages and abilities
-
Keeping it running reliably with proper setup and maintenance
“Foto ATM is perfect for any venue looking to engage their audience”
FAQs
What should I consider when selecting a photo booth for my event?
When selecting a photo booth, think about your event’s unique needs to ensure it fits seamlessly into the venue and enhances guest enjoyment.
-
Event Type: Match the booth to your event’s style and purpose. For example, a sleek open-air booth works well for modern weddings, while a 360-degree setup adds excitement to corporate parties.
-
Space and Layout: Check the venue’s available space and choose a booth that fits comfortably. Make sure there’s enough room for guests to queue without disrupting the flow of the event.
-
Guest Experience: Opt for a booth that’s easy to use and accessible for all attendees. Features like touchscreens and customizable props can make the experience more engaging.
By considering these factors, you’ll find a photo booth that complements your event and creates lasting memories for your guests.
How can I make sure the photo booth is accessible and easy to use for all guests, including those with mobility challenges?
To ensure your photo booth is accessible and user-friendly for everyone, prioritize wheelchair accessibility by providing adequate space around the booth and ensuring the camera and screen are at an appropriate height. Opt for a design that allows easy access without steps or barriers.
Additionally, use clear instructions and simple controls to make the photo-taking process intuitive. Consider features like large, easy-to-read buttons or touchscreens, and ensure the booth is well-lit for guests with visual impairments. Thoughtful planning will help all attendees enjoy the experience seamlessly.
How can I rent a photo booth on a budget without sacrificing quality or the guest experience?
Renting a photo booth on a budget doesn’t mean you have to compromise on quality or fun. Here are some tips to help you save money while ensuring your event stands out:
-
Choose the right type of photo booth: Open-air booths or unattended kiosks are often more affordable than fully enclosed or 360-degree setups, and they still deliver a great experience.
-
Book early: Many rental companies offer early booking discounts, so planning ahead can help you secure a better price.
-
Opt for shorter rental times: If your event has a specific peak time for photos, consider renting the booth for just a few hours instead of the entire event.
By focusing on what matters most to your event, you can find a cost-effective photo booth that fits your budget and keeps your guests engaged.
Ready to add passive revenue to your venue? Take the 60-second kiosk quiz to find your perfect match, or compare all models side by side.